

Hi everyone! Today I made an adorable chocolate cactus cake using Tessa Huff's cookbook, "Layered." I love this book to death, and though you're not supposed to judge a book by it's cover, "Layered" is such a beautifully photographed book that I couldn't resist buying it! Of course... the recipes are equally as scrumptious.


Before I start, I guiltily must admit that I took out or replaced some ingredients of the chocolate cake to fit what I already had at home. But... that's the true fun of it, don't you think?
INGREDIENTS
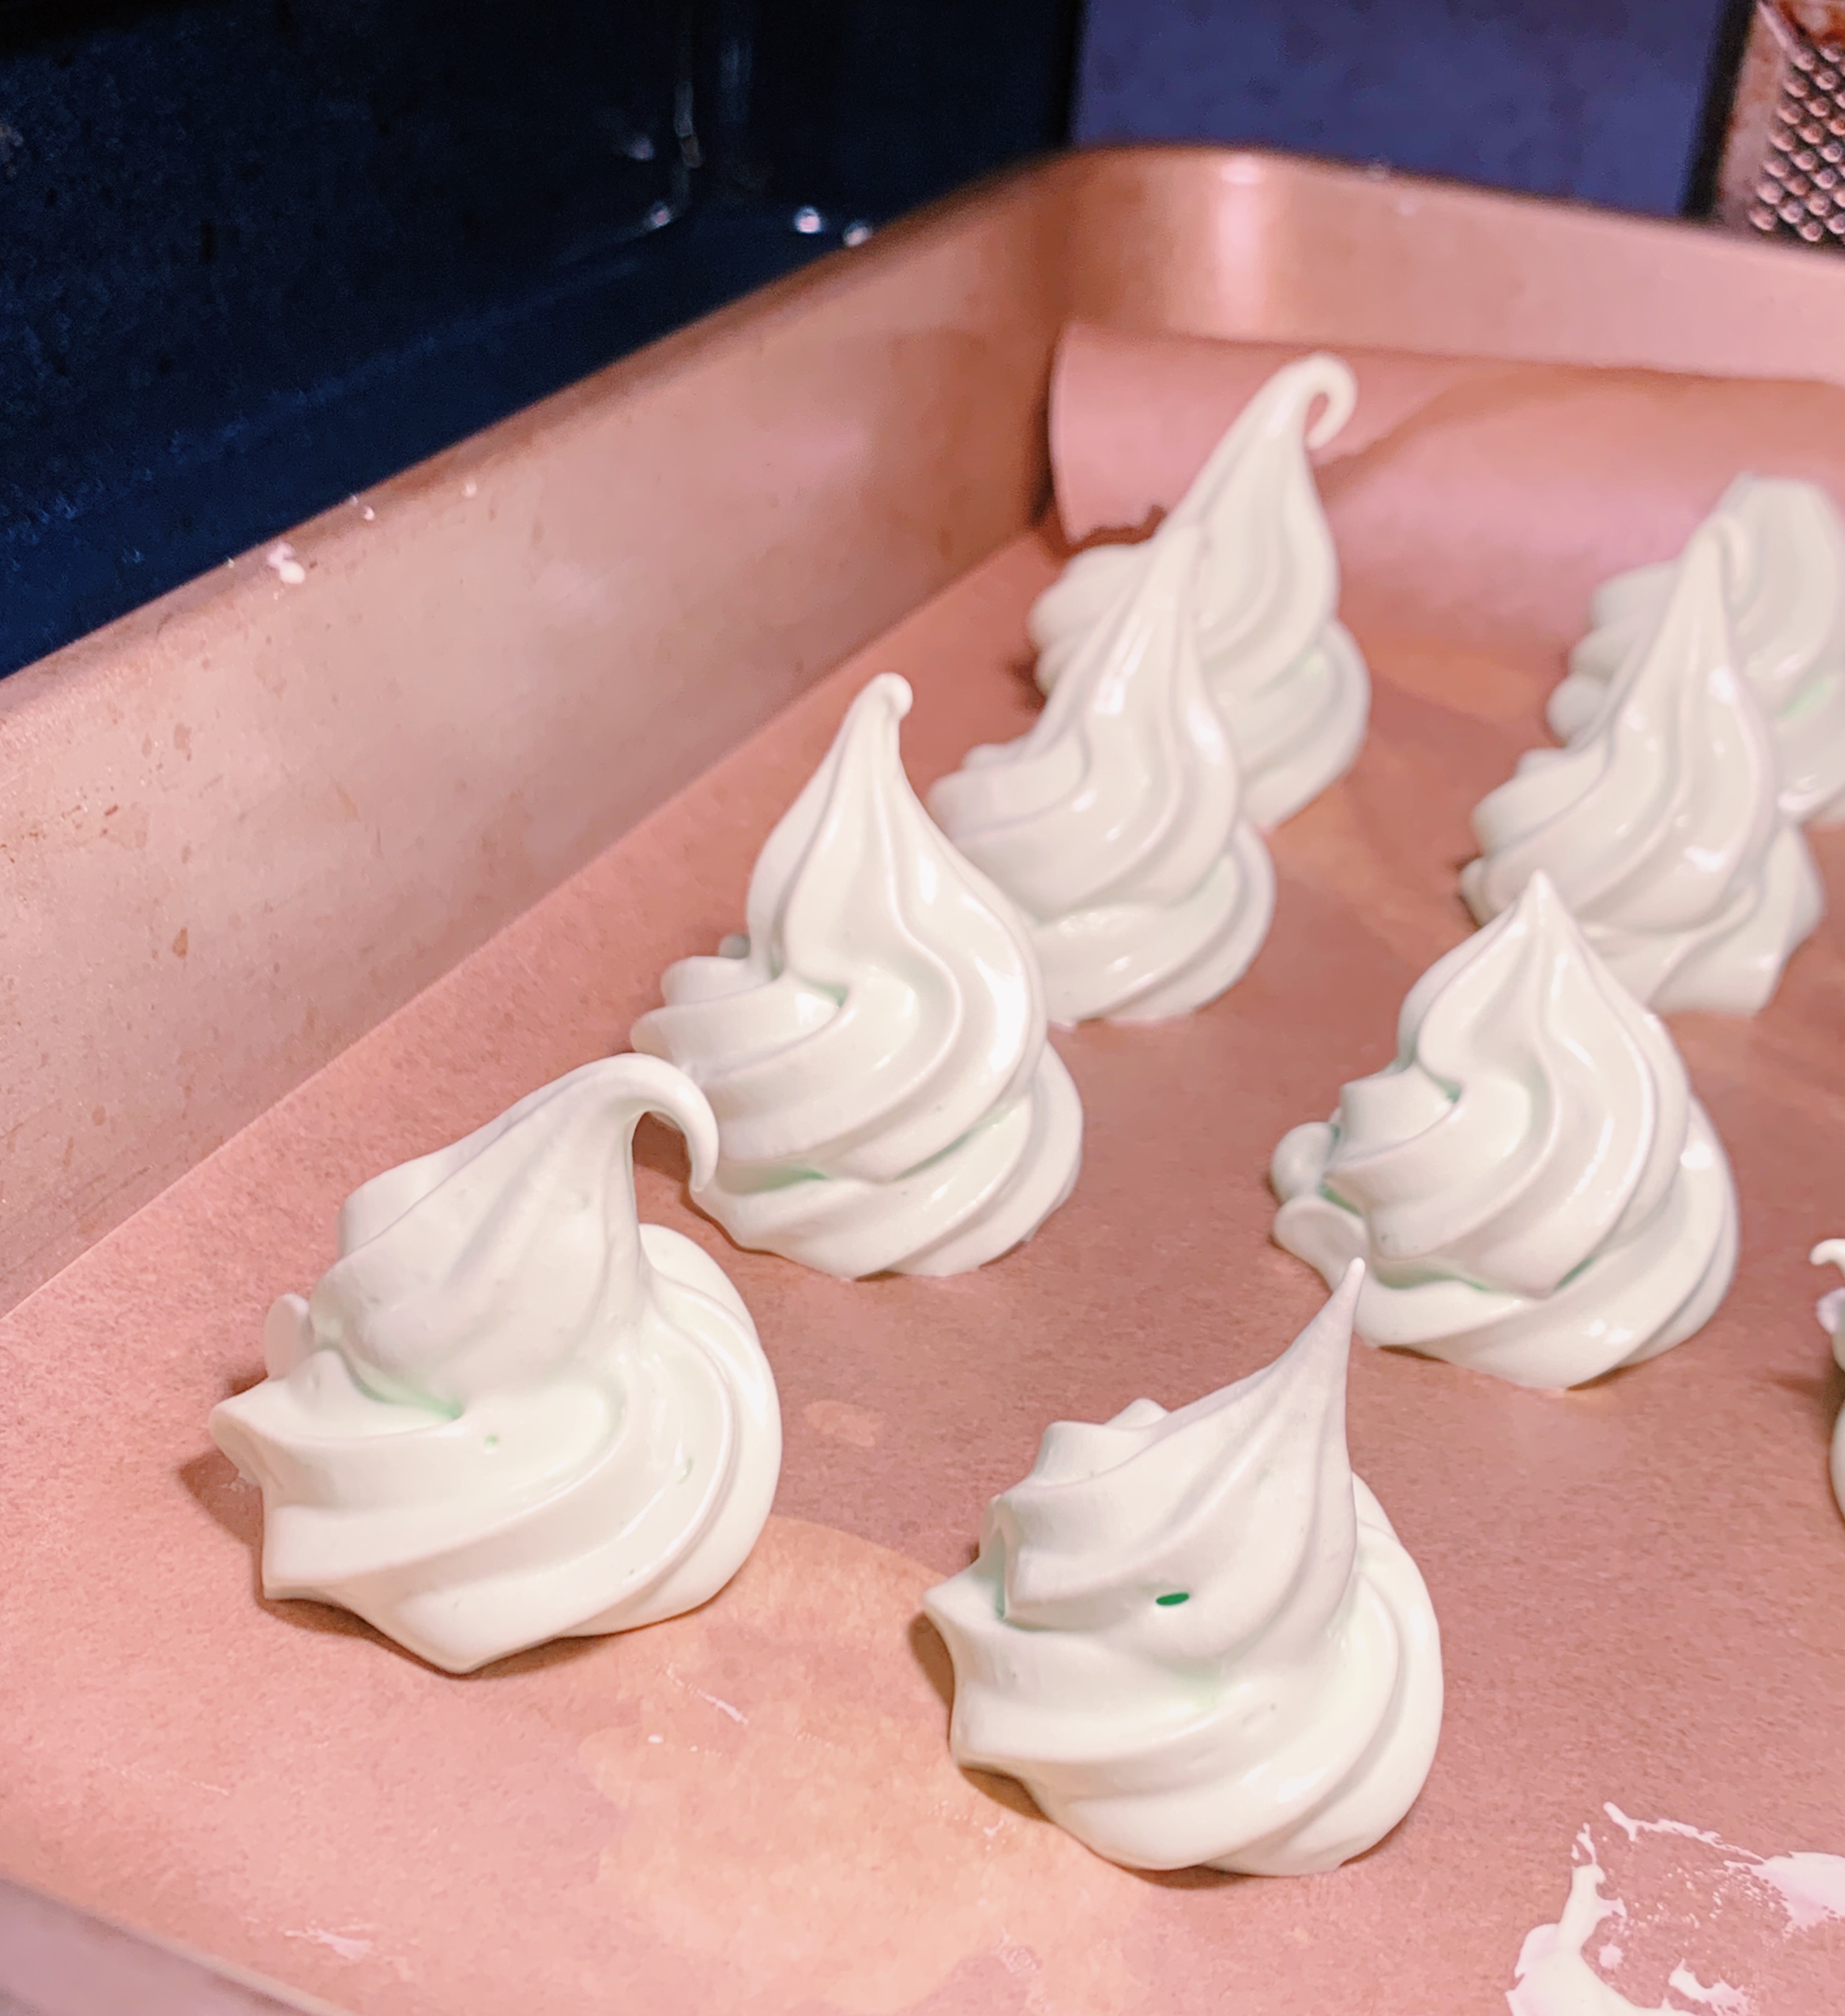
For the cacti, I made meringues and baked them low and slow, so that they could keep their delightfully green color (throughout the actual "baking" process in the oven). I used my own recipe for these, linked right here.


Chocolate Cake
(Ingredient Proportions taken directly from the book, *pg 194 - Raspberry Stout Cake)
Italicized - ingredients I took out or replaced
- Butter or nonstick cooking spray, for the pans
- 2 cups (250g) all-purpose flour, plus more for the pans
- 1 1/4 tsp baking soda
- 1 tsp baking powder (replaced with a little more baking soda)
- 1/2 tsp salt
- 1 cup (240ml) stout beer, such as Guinness
- 3/4 cup (1 1/2 sticks / 170g) unsalted butter
- 2/3 cup (160ml) sour cream (replaced with regular cream)
- 2 large eggs (around 3 regular eggs)
- 2 tsp pure vanilla extract
- 1 cup (220g) firmly packed dark brown sugar
- 3/4 cup (150g) granulated sugar
- 3/4 cup (70g) unsweetened cocoa powder (replaced with around 100g of dark chocolate —> less sugar)
- 1 tbsp instant espresso powder
Ganache
- Milk Chocolate
- Cream
1 part cream : 1.5~2 part cream (alter by taste)
TOOLS
- Cake pan - I personally like to use a very wide cake pan, so that I can spread my batter out more thinly (= bake more quickly).

- Stand Mixer (cacti meringues)
- Saucepan
- Whisk
- Bowls
- Parchment paper
- Cake stand
- Sharp knife
- Fork
Directions (Chocolate Cake)
Note: I am genuinely sorry for not taking as many pictures this time. Hope the instructions are clear enough!
Also, I wrote the directions based on the ingredients I used (see ingredients section above).
- Preheat your oven to 175°C (350°F).
- Bowl 1: Combine the flour, baking soda, baking powder, and salt - make sure to sift to avoid any clumps!
- Bowl 2: Melt your butter in a saucepan, along with the chocolate. Add in both the white and brown sugar.
- Bowl 3: Incorporate cream, eggs, and vanilla extract into another bowl.
- Combine your wet ingredients together, and add your dry ingredients as well (make sure everything is well mixed - again, you don't want to eat a pocket of flour!)
- Pour the batter into your baking pan(s) and bake for around 30 minutes. You will know you're done if a toothpick comes out spotless.

Ganache
- Place a bowl on top of boiling water and melt your chocolate. (If you melt your chocolate in a saucepan right on top of the heat, the chocolate will burn and clump up).
- Incorporate the cream and mix until smooth.
- Chill in the fridge until the ganache thickens into a frosting-like consistency.

Assemble Cake
What I looove about making this cactus cake is that it's alright to make mistakes and be a little messy.
- Divide/slice the chocolate cake into 4 pieces in the shape of circles. Make sure there are some left over pieces of cake to form the "dirt" covering your base shape.
- Layer the cake and lightly spread the chocolate ganache in-between each cake layer.
- Crumb coat your cake (basically seal all the crumbs in with the ganache).
- Chill in the fridge.
- Afterwards, carve your cake to look rounded like this:

- With your leftover pieces of cake, crush them up into grain-like pieces to imitate the "dirt" of your garden (use fork or clean hands). Sprinkle and pat them gently all over your cake.
- Now that you are finished with the form of your cake, it is time to add your cactus meringues! Use a toothpick to fasten your meringues onto the cake (draping movement of meringues across your cake).

Finally... for the Mini Straw Flag cake topper, simply take a colorful patterned straw, and stick on some matching colored paper with a message of your choice.
Here it is! Your cute cactus cake is ready to be eaten and sliced~ Tag me on Instagram @nhighteaters, or with the hashtag #nhighteaters to share your very own cactus cake with me. I would love to see how you guys have all personalized your cactus cake!
Thank you so much for reading, and don't be afraid to ask me any questions you have. Have fun bakers!
You might Also Like


Borough Market (London)
Are you a foodie? If so, you are in the right place. Take a sneak peek at my experience in London's Borough Market where every food lovers' dream comes true.
Read More